
If you’re shopping for gaming accessories, the Logitech G series is a well-liked option among players worldwide. It comes with mic monitoring, crystal clear sound, and a detachable microphone as well. But, Sometimes the mic fails to capture your voice during intense gameplay. It can be caused due to a number of reasons.
Thus, it is good to discuss the causes before we move to the possible fixes. First things first, restart your computer and check that your headset is configured as the default input on your computer.
Possible reasons for Logitech Pro X mic not working
Connection of the headset and Aux cord:
The headset and aux wire may not be connected if your microphone is not working, according to the Logitech documentation.
Ineffective sound card driver:
Your computer won’t be able to use the new Logitech microphone if the audio driver of your headset is out of date. You can experience issues with the microphone not working as a result.
Unsuitable audio settings:
This microphone issue on your Logitech G Pro X can occur if your audio settings are not optimal.
Put a stop to using the microphone:
Consider a scenario in which your computer is unable to use the microphone for whatever reason. The mic’s malfunction will then be a problem for you to resolve.
Possible fixes for Logitech G Pro X mic:
Examine the connections:
A PC connection port and a microphone input are both present on the headset. The wire ends must be attached to both of them. When the connection is safe, clicks will be audible. To determine whether the headset is a software problem or if the hardware is damaged, you can also try connecting it to a different PC.
Connect the Microphone to the Black Rectangle and the Headset to Each Other:
- Step 1: Connect your PC’s USB blue voice input.
- Step 2: Remove your headset’s USB blue voice input cable (little black rectangular thing).
- Step 3: Remove the microphone cable from your headphone. Everything but the headset cable is now unplugged.
- Step 4: Connect your microphone to the USB voice input in blue.
- Step 5: Connect your headset’s wire to the microphone port.
- Step 6: Give it two minutes. Likewise, unplug everything.
- Step 7: Then connect everything in the usual sequence.
- Step 8: Inspect the G hub.
Enable users to use the microphone:
- Step 1: Use the search bar to locate “Microphone privacy settings” and click on it. Select it if you see it in the list of search results.
- Step 2: To give this particular device access to the microphone, click the edit button and then turn on the toggle switch.
- Step 3: Turn on the switch next to that option to give programs access to your microphone.
- Step 4: Keep scrolling until you find the choice that gives you access to the desktop microphone.
- Step 5: Additionally, turn on the switch that regulates it.
- Step 6: Now close all open windows and try speaking into your headset microphone.
Verify the audio settings:
- Step 1: You can play the sounds associated with each of the small icons in the drop-down box next to “View by” by clicking on them.
- Step 2: You may ensure that your microphone is on by selecting it from the Recording menu and hitting the Record button a second time.
- Step 3: Then, choose Set Default from the drop-down option that comes after performing a right-click on the microphone.
- Step 4: By selecting Properties from the context menu that comes when you click on the microphone, you may alter how it appears.
- Step 5: Using the drop-down menu on the right, select the Levels option.
- Step 6: The volume slider must be raised all the way to continue.
- Step 7: Try to duplicate the process once more after setting your Logitech X microphone as the default and increasing the computer’s volume.
You can also check out: How to make your mic louder?
Ensure that the microphone is on:
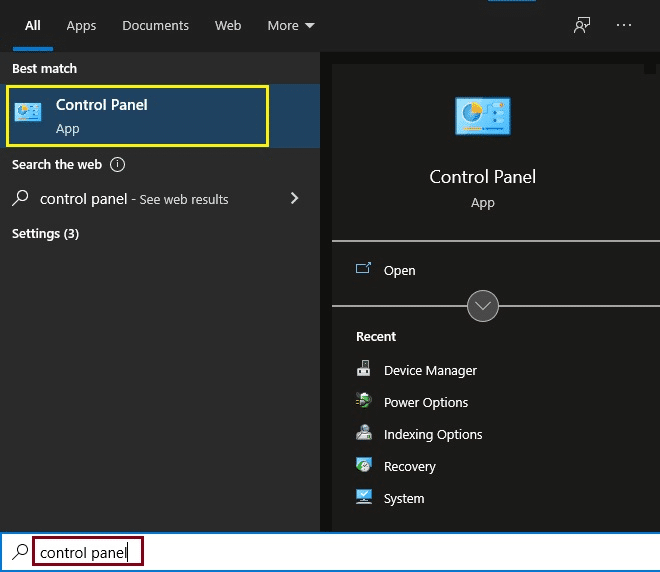
- Step 1: Launch the Control Panel by looking for it on your computer.
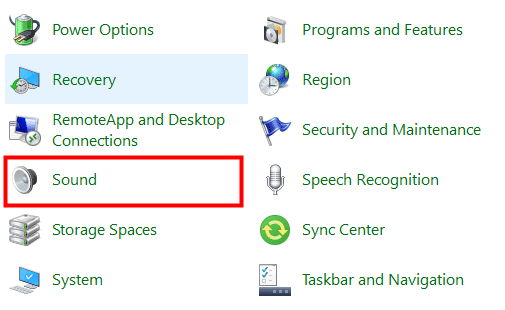
- Step 2: Small icons should be chosen as the View by option.
- Step 3: From the available options, pick Sound.
- Step 4: Activate the Recording tab for the Mic Test.
- Step 5: Select Enable from the menu options that appear when you right-click the Logitech G Pro X microphone.
Activate the most recent audio driver:
- Step 1: In the lower-left corner, click the Windows logo or button.
- Step 2: Open the Device Manager app after typing “device manager.”
- Step 3: Choose Input and output audio settings from the menu.
- Step 4: Make sure to right-click your Logitech headset (including the microphone and headphones).
- Step 5: Click on the option to Update the driver.
- Step 6: Select Find drivers by clicking.
- Step 7: Install the required drivers according to the instructions shown.
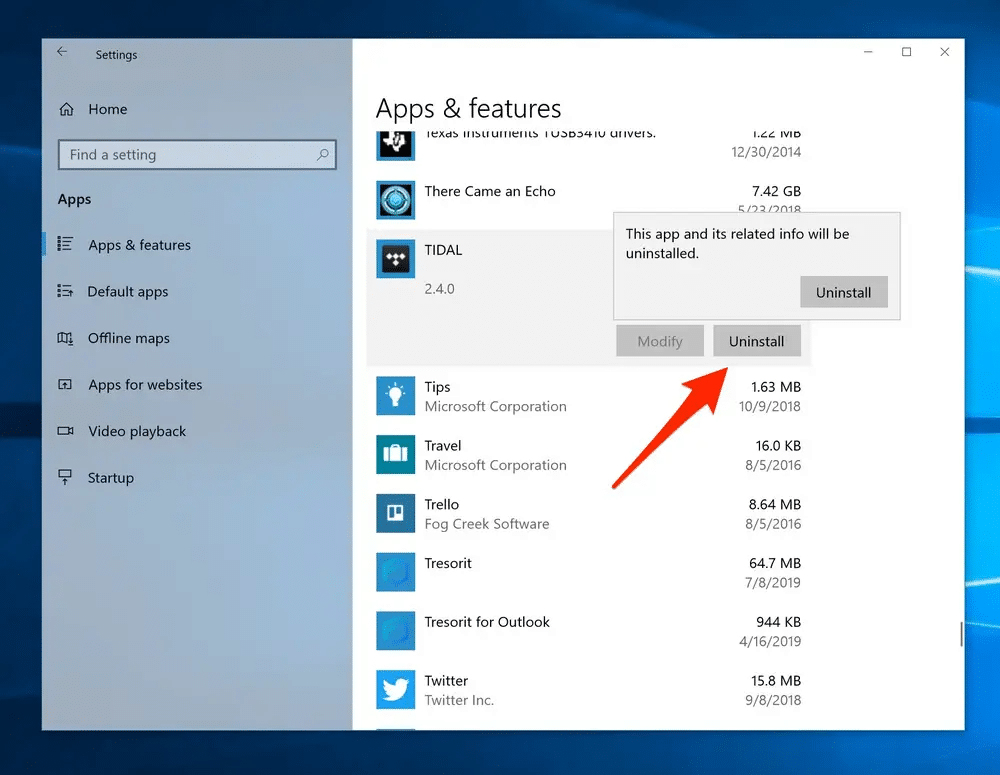
Remove and reinstall the G HUB:
- Step 1: Press the Win+R keys to launch the Run application.
- Step 2: Paste appwiz.cpl into the Run application after copying it.
- Step 3: Press the OK key.
- Step 4: Right-click on the Logitech G HUB application to choose it.
- Step 5: Restart the computer after uninstalling the Logitech G HUB app.
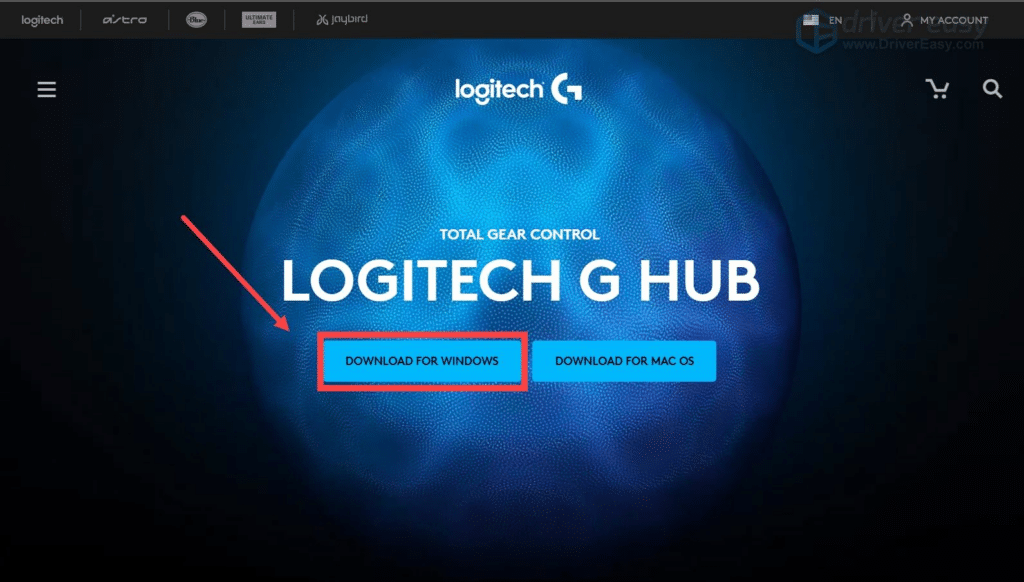
- Step 6: From the Logitech website, get the G HUB app by clicking on “Download For windows”
- Step 7: Install the app again and see if that resolves the issue.
Resolve hardware issues:
- Step 1: Open the Settings panel by pressing the keys Windows and I together.
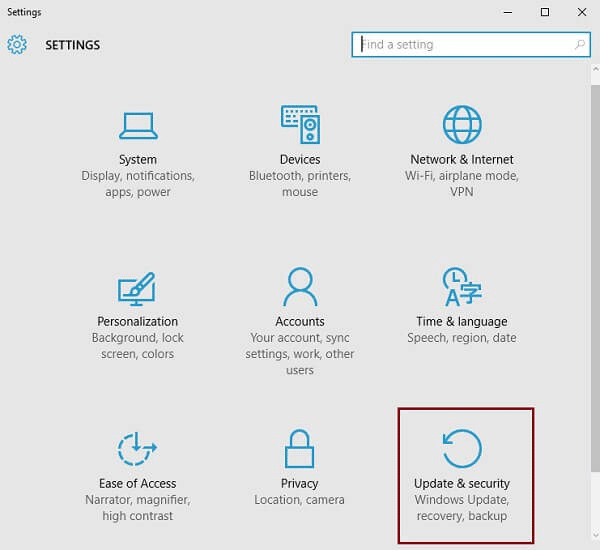
- Step 2: Select the Update & Security option.
- Step 3: Select Recording Audio from the Troubleshoot menu.
Activate the troubleshooter:
- Step 1: Press the Windows key + I on your keyboard.
- Step 2: Click Privacy.
- Step 3: Select Microphone.
- Step 4: Make sure that the Microphone access for this device section says ON.
- Step 5: Ensure that Allow apps to access your microphone is also set to ON.
Also Read: How to fix Microphone not working on windows 10?
Remove extra audio software:
On our PCs, many of us use third-party equalization audio applications to improve audio quality. Yet, some users prefer to customize their audio experience, which needs particular third-party audio tools. But, your issue could be brought on by these external audio tools.
The third-party audio software you’re running on your computer may be incompatible with the Logitech Pro X headsets. Your only option in this situation is to completely remove that third-party audio tool from your PC.
Install and use Logi Tune:
An excellent app for Logitech users is Logi Tune. Your experience with the Logitech G Pro X microphone can be improved. This program can fix your issue because it allows you to change your audio settings. Downloading and using the Logi Tune app is thus free.
Conclusion:
You should try the Aux cord two-clicks plugin, If the issue still exists, you should try the other solutions. Also, the Logi tune and G HUB application fixes issues for many users, so you should try them out.